Phone System User Training Session


23 Slides1.75 MB
Phone System User Training Session
Introduction and Agenda Trainer Information –Mike DuPhily, Engineer, Verteks Consulting –ShoreTel Advanced Certified Engineer –[email protected], 877-VERTEKS Session Information –Introductory session with a focus on core features –Interactive demonstration system for one-on-one – Training Options Available to You http://www.pensacolastate.edu/helpdesk/helpdesk-staff/new-college-phone-system/ 2
What To Expect We’ve done our best to keep everything working as smoothly as possible during the transition to the new phone system. There are some features of the ShoreTel system that are entirely new and some things that will work differently from your current phone or software. We will highlight these changes for you during this training. If you have any particular concerns or questions that you would like to be addressed, please feel free to ask about them during this training, or discuss them with myself or your IT staff after this training or at any time. We’ve found that it generally takes about a month to get comfortable with the new system. There are many new features and options to explore. These are all completely optional – make use of as many or as few of them as you’d like. No pressure. 3
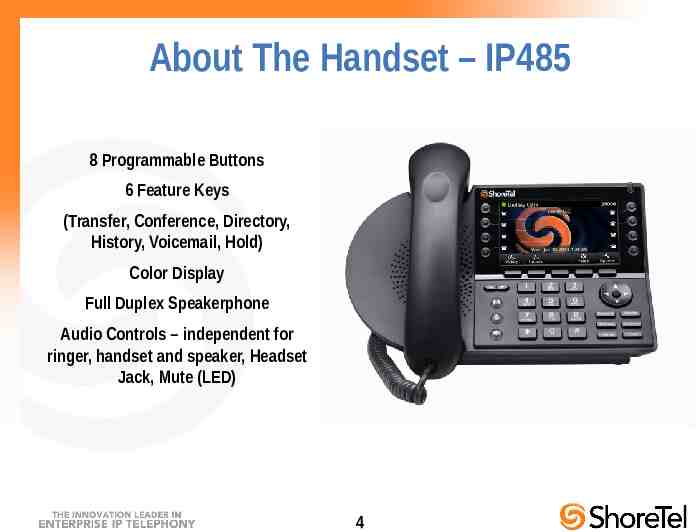
About The Handset – IP485 8 Programmable Buttons 6 Feature Keys (Transfer, Conference, Directory, History, Voicemail, Hold) Color Display Full Duplex Speakerphone Audio Controls – independent for ringer, handset and speaker, Headset Jack, Mute (LED) 4
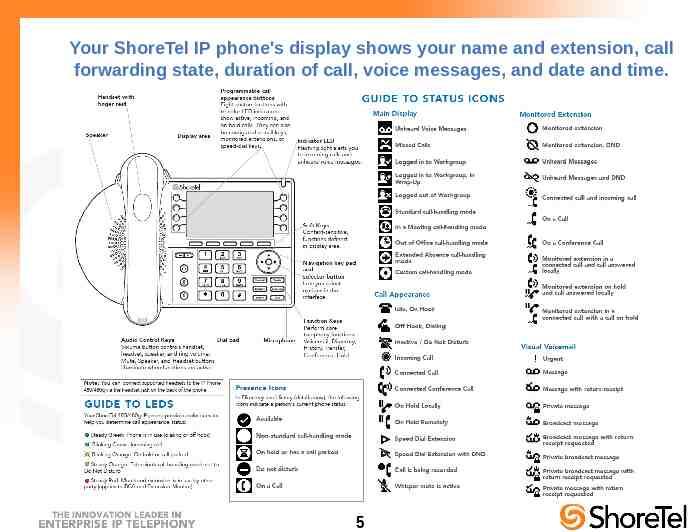
Your ShoreTel IP phone's display shows your name and extension, call forwarding state, duration of call, voice messages, and date and time. 5
Basic Functions - Overview After completing this section, you will be able to: Place calls using the handset, speakerphone, or headset Answer calls using the handset, speakerphone, or headset Use the Directory and History features. Transfer a call to another user or outside line. Create conference calls. 6
Basic Functions – Place Calls Using the Handset - To place an internal call, pick up the handset and dial the extension. To place an external call, dial 9, then the phone number. To end a call, hang up the handset. Using the Speakerphone - To place an internal call, press the Speakerphone button and dial the extension. To place an external call, dial 9, then the phone number. To end a call, press the Speakerphone button again. Using the Headset - To place an internal call, press your headset's answer button (on the headset) and dial the extension. To place an external call, dial 9, then the phone number. To end a call, press the headset's answer button again. 7
Making it Easy to Place Calls Remember: You no longer need to dial “7” for long distance calls. Just dial “9” and the system will route the call out through the appropriate line. 8
Basic Functions – Answering Calls Using the Handset - To answer a call, pick up the handset when the phone rings. To end a call, hang up the handset. Using the Speakerphone - To answer a call, press the Speakerphone button . The LED in the button lights green. To end a call, press the Speakerphone button again. Using the Headset - To answer a call, press the headset's answer button . The LED on the phone's Headset button lights green. To end a call, press your headset's answer button again. 9
Basic Functions – Directory You can use the Directory to find an extension by name. Press the Directory button and use the scroll key to move up and down through the list. You can also search the Directory by spelling any part of the name of the person you are looking for. For instance, if you were looking for Mike, you would press 6-4-5-3 on the keypad. Note that you do not have to press the keys multiple times to dial a letter. 10
Basic Functions – History You can use the History function to dial calls you have received or placed recently. Calls made to your phone that you missed also appear here. To dial from History, press the History key, then use the scroll keys to find the correct entry and press the Select button OR pick up the handset/headset. 11
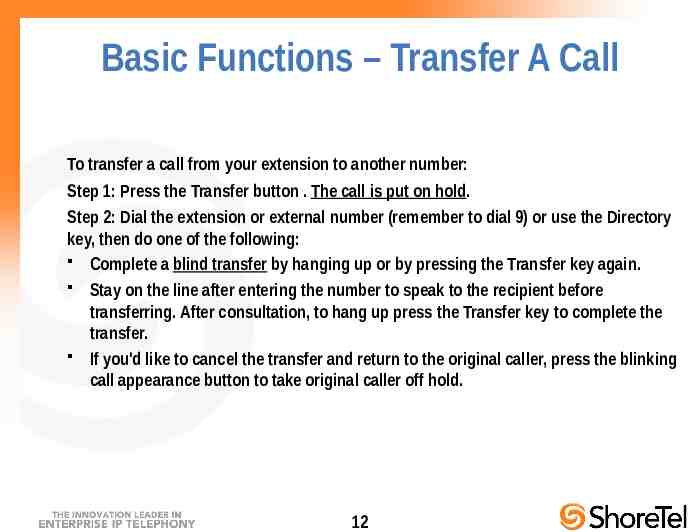
Basic Functions – Transfer A Call To transfer a call from your extension to another number: Step 1: Press the Transfer button . The call is put on hold. Step 2: Dial the extension or external number (remember to dial 9) or use the Directory key, then do one of the following: Complete a blind transfer by hanging up or by pressing the Transfer key again. Stay on the line after entering the number to speak to the recipient before transferring. After consultation, to hang up press the Transfer key to complete the transfer. If you'd like to cancel the transfer and return to the original caller, press the blinking call appearance button to take original caller off hold. 12
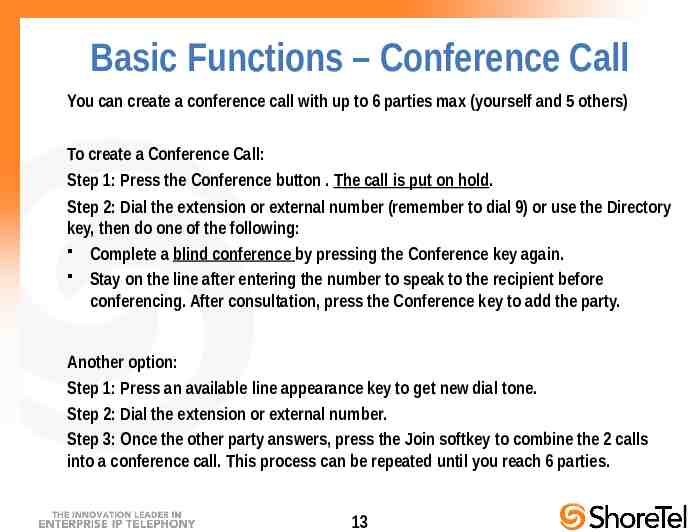
Basic Functions – Conference Call You can create a conference call with up to 6 parties max (yourself and 5 others) To create a Conference Call: Step 1: Press the Conference button . The call is put on hold. Step 2: Dial the extension or external number (remember to dial 9) or use the Directory key, then do one of the following: Complete a blind conference by pressing the Conference key again. Stay on the line after entering the number to speak to the recipient before conferencing. After consultation, press the Conference key to add the party. Another option: Step 1: Press an available line appearance key to get new dial tone. Step 2: Dial the extension or external number. Step 3: Once the other party answers, press the Join softkey to combine the 2 calls into a conference call. This process can be repeated until you reach 6 parties. 13
Using Voicemail After completing this section, you will be able to: Use the Voicemail application on your phone. Access the prompts for additional options. Setup your voicemail and retrieve messages. 14
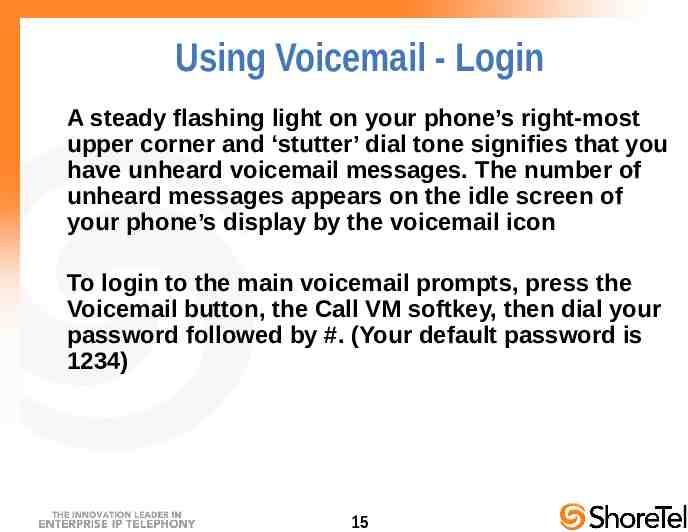
Using Voicemail - Login A steady flashing light on your phone’s right-most upper corner and ‘stutter’ dial tone signifies that you have unheard voicemail messages. The number of unheard messages appears on the idle screen of your phone’s display by the voicemail icon To login to the main voicemail prompts, press the Voicemail button, the Call VM softkey, then dial your password followed by #. (Your default password is 1234) 15
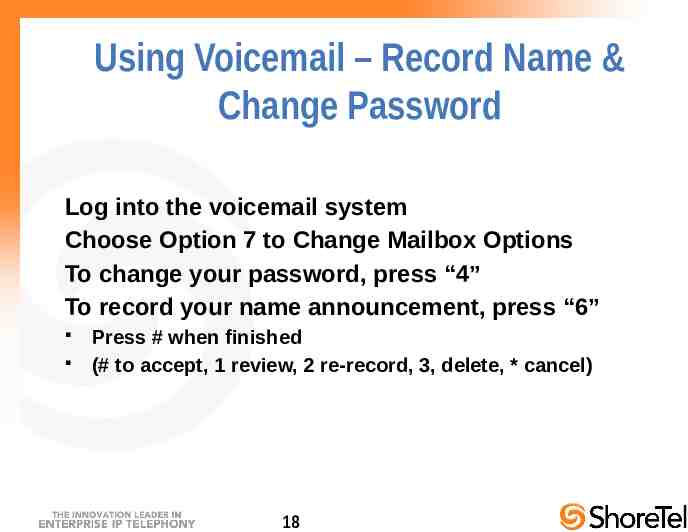
Using Voicemail – Record Name & Change Password Log into the voicemail system Choose Option 7 to Change Mailbox Options To change your password, press “4” To record your name announcement, press “6” Press # when finished (# to accept, 1 review, 2 re-record, 3, delete, * cancel) 18
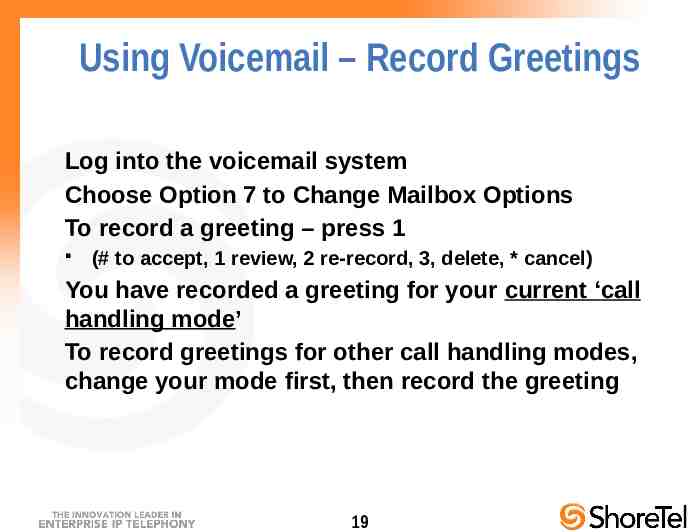
Using Voicemail – Record Greetings Log into the voicemail system Choose Option 7 to Change Mailbox Options To record a greeting – press 1 (# to accept, 1 review, 2 re-record, 3, delete, * cancel) You have recorded a greeting for your current ‘call handling mode’ To record greetings for other call handling modes, change your mode first, then record the greeting 19
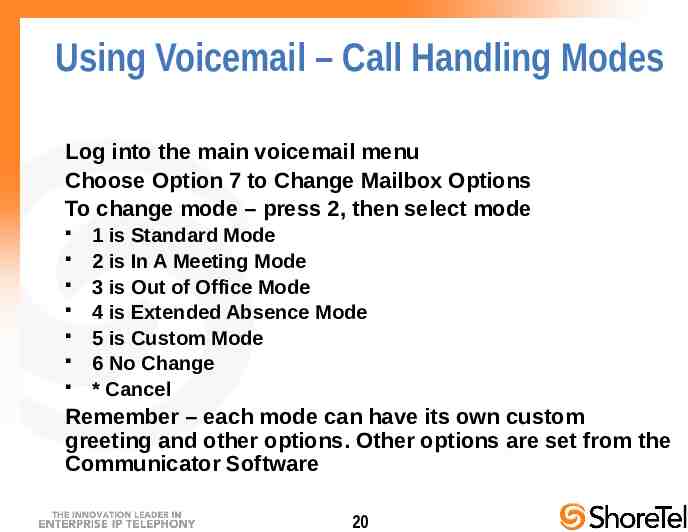
Using Voicemail – Call Handling Modes Log into the main voicemail menu Choose Option 7 to Change Mailbox Options To change mode – press 2, then select mode 1 is Standard Mode 2 is In A Meeting Mode 3 is Out of Office Mode 4 is Extended Absence Mode 5 is Custom Mode 6 No Change * Cancel Remember – each mode can have its own custom greeting and other options. Other options are set from the Communicator Software 20
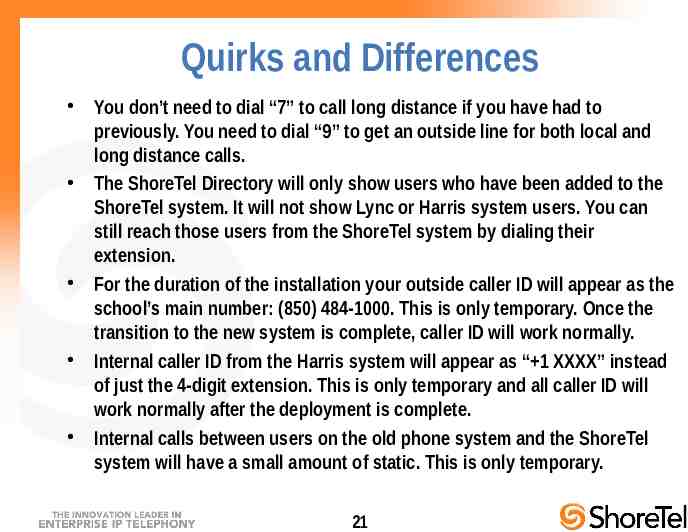
Quirks and Differences You don’t need to dial “7” to call long distance if you have had to previously. You need to dial “9” to get an outside line for both local and long distance calls. The ShoreTel Directory will only show users who have been added to the ShoreTel system. It will not show Lync or Harris system users. You can still reach those users from the ShoreTel system by dialing their extension. For the duration of the installation your outside caller ID will appear as the school’s main number: (850) 484-1000. This is only temporary. Once the transition to the new system is complete, caller ID will work normally. Internal caller ID from the Harris system will appear as “ 1 XXXX” instead of just the 4-digit extension. This is only temporary and all caller ID will work normally after the deployment is complete. Internal calls between users on the old phone system and the ShoreTel system will have a small amount of static. This is only temporary. 21
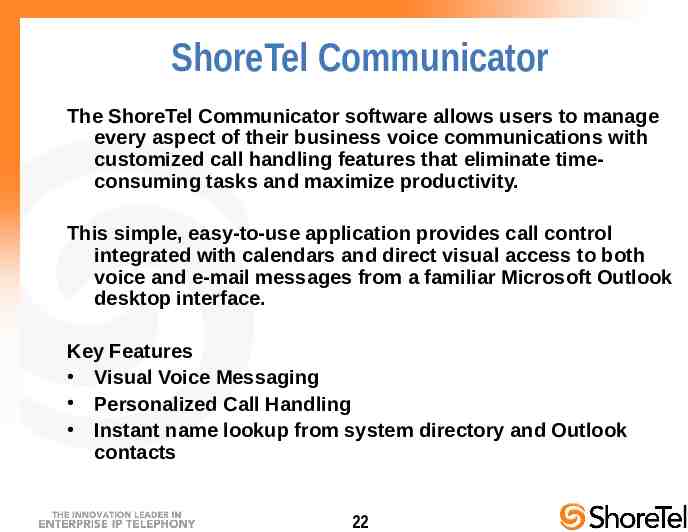
ShoreTel Communicator The ShoreTel Communicator software allows users to manage every aspect of their business voice communications with customized call handling features that eliminate timeconsuming tasks and maximize productivity. This simple, easy-to-use application provides call control integrated with calendars and direct visual access to both voice and e-mail messages from a familiar Microsoft Outlook desktop interface. Key Features Visual Voice Messaging Personalized Call Handling Instant name lookup from system directory and Outlook contacts 22
Communicator Resources Additional training resources and reference guides are available on www.shoretel.com: Self-paced user guide with step-by-step instructions Online training with audio and video guidance Internal help resources within the program 23
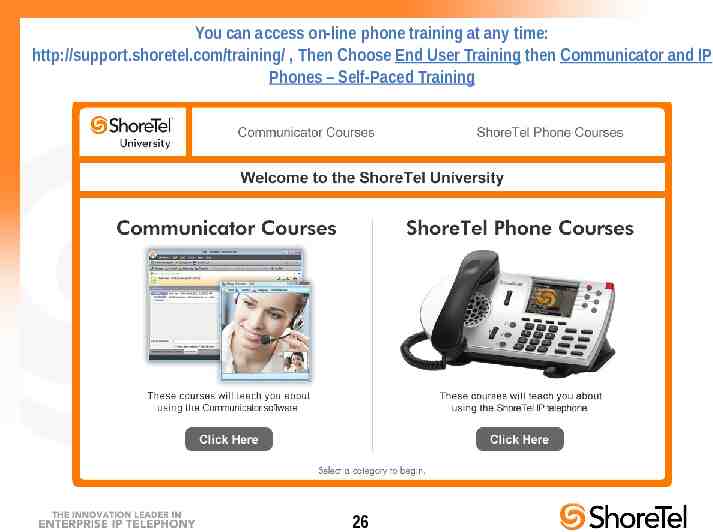
You can access on-line phone training at any time: http://support.shoretel.com/training/ , Then Choose End User Training then Communicator and IP Phones – Self-Paced Training 26
Conclusion Review available training resources to follow-up after this session Experiment with features when possible to learn more about the systems capabilities THANK YOU FOR TAKING TIME TODAY! Mike DuPhily, Engineer, Verteks Consulting [email protected] , 877-VERTEKS 27