Using the Blackboard Mass Notification System (also know as: BB Comms,
10 Slides748.62 KB
Using the Blackboard Mass Notification System (also know as: BB Comms, Parentlink, Connect 5i) SENDING A MESSAGE
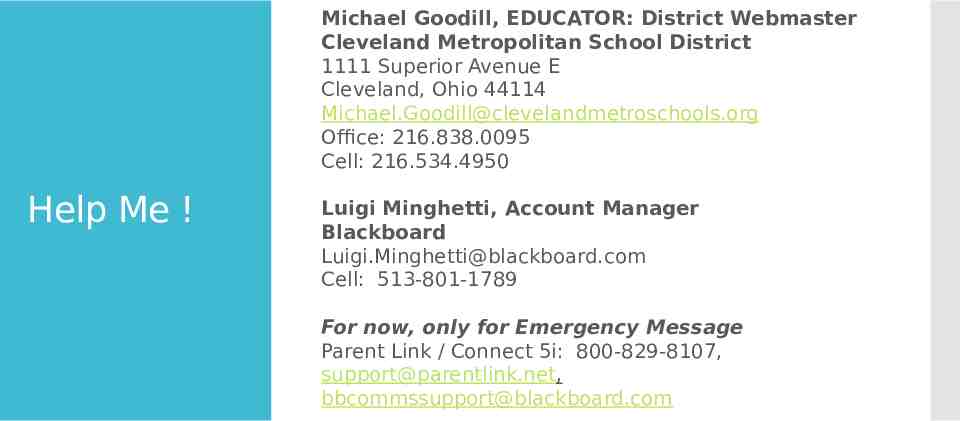
Michael Goodill, EDUCATOR: District Webmaster Cleveland Metropolitan School District 1111 Superior Avenue E Cleveland, Ohio 44114 [email protected] Office: 216.838.0095 Cell: 216.534.4950 Help Me ! Luigi Minghetti, Account Manager Blackboard [email protected] Cell: 513-801-1789 For now, only for Emergency Message Parent Link / Connect 5i: 800-829-8107, [email protected], [email protected]
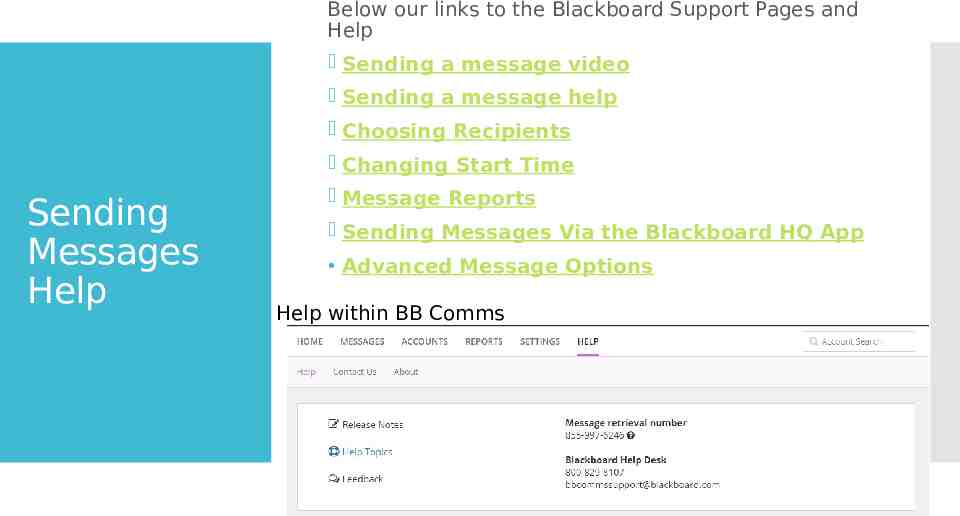
Below our links to the Blackboard Support Pages and Help Sending a message video Sending a message help Choosing Recipients Changing Start Time Sending Messages Help Message Reports Sending Messages Via the Blackboard HQ App Advanced Message Options Help within BB Comms
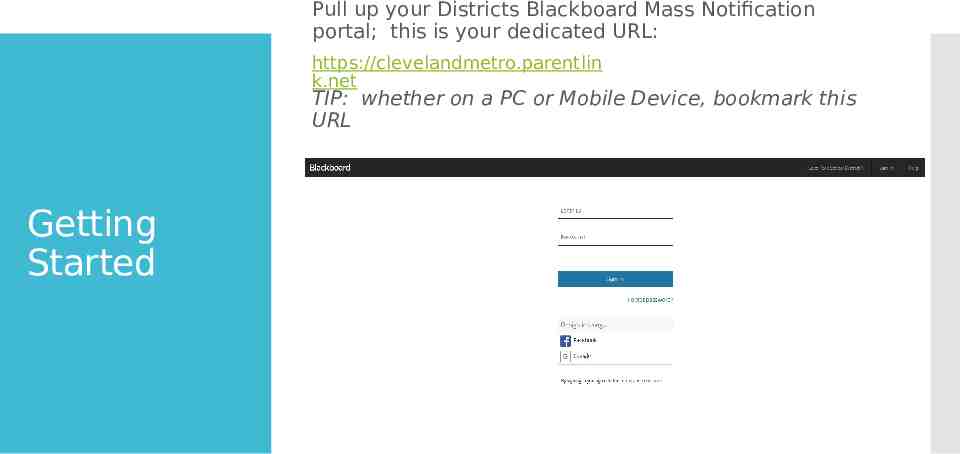
Pull up your Districts Blackboard Mass Notification portal; this is your dedicated URL: https://clevelandmetro.parentlin k.net TIP: whether on a PC or Mobile Device, bookmark this URL Getting Started
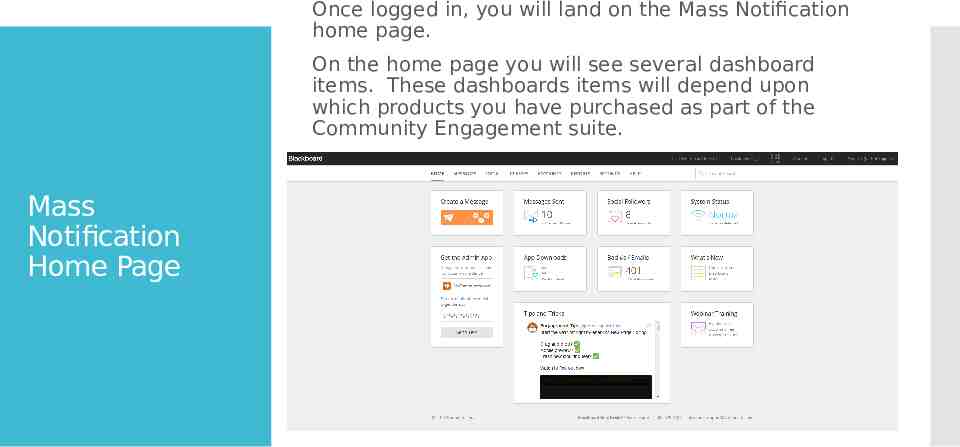
Once logged in, you will land on the Mass Notification home page. On the home page you will see several dashboard items. These dashboards items will depend upon which products you have purchased as part of the Community Engagement suite. Mass Notification Home Page
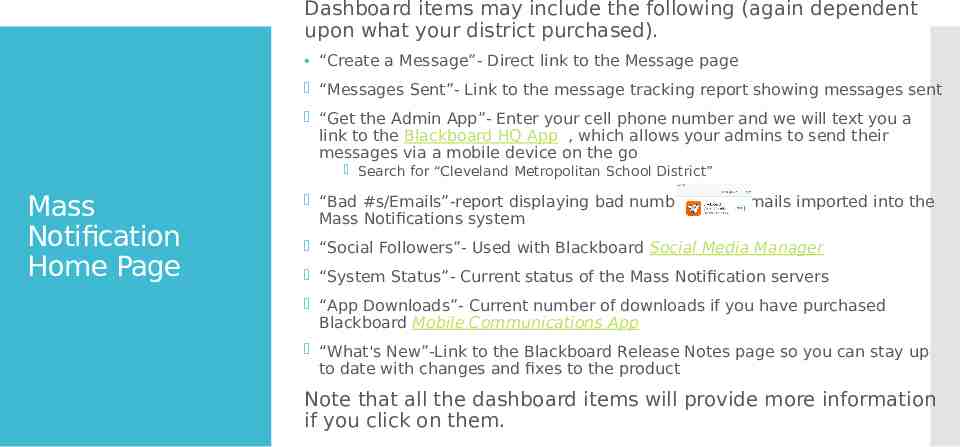
Dashboard items may include the following (again dependent upon what your district purchased). “Create a Message”- Direct link to the Message page “Messages Sent”- Link to the message tracking report showing messages sent “Get the Admin App”- Enter your cell phone number and we will text you a link to the Blackboard HQ App , which allows your admins to send their messages via a mobile device on the go Search for “Cleveland Metropolitan School District” Mass Notification Home Page “Bad #s/Emails”-report displaying bad numbers and emails imported into the Mass Notifications system “Social Followers”- Used with Blackboard Social Media Manager “System Status”- Current status of the Mass Notification servers “App Downloads”- Current number of downloads if you have purchased Blackboard Mobile Communications App “What's New”-Link to the Blackboard Release Notes page so you can stay up to date with changes and fixes to the product Note that all the dashboard items will provide more information if you click on them.
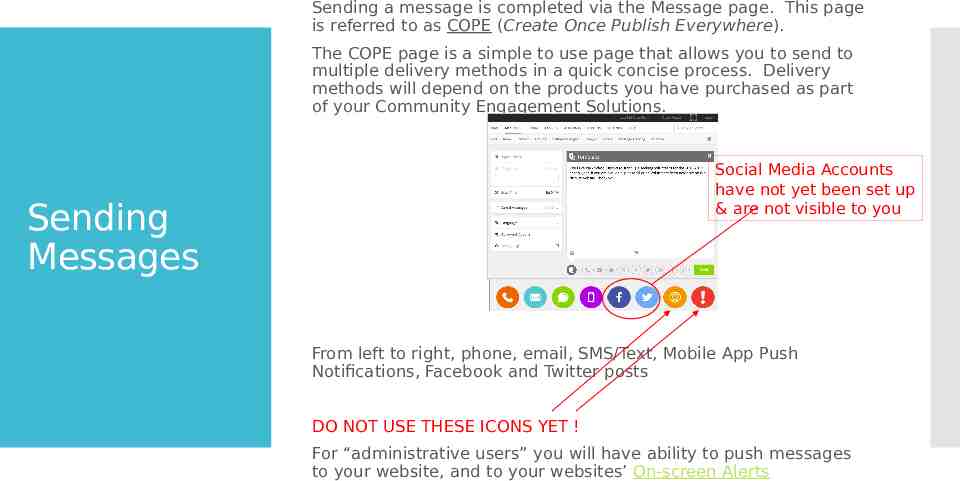
Sending a message is completed via the Message page. This page is referred to as COPE (Create Once Publish Everywhere). The COPE page is a simple to use page that allows you to send to multiple delivery methods in a quick concise process. Delivery methods will depend on the products you have purchased as part of your Community Engagement Solutions. Social Media Accounts have not yet been set up & are not visible to you Sending Messages From left to right, phone, email, SMS/Text, Mobile App Push Notifications, Facebook and Twitter posts DO NOT USE THESE ICONS YET ! For “administrative users” you will have ability to push messages to your website, and to your websites’ On-screen Alerts
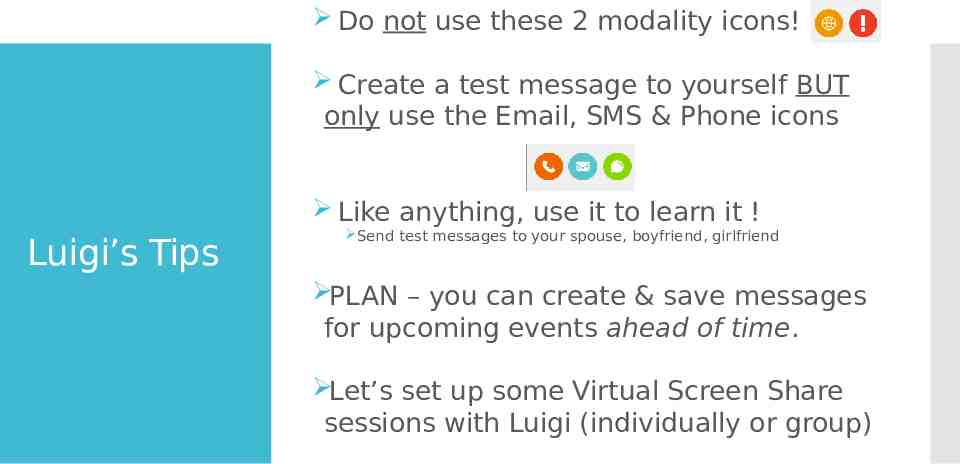
Do not use these 2 modality icons! Create a test message to yourself BUT only use the Email, SMS & Phone icons Like anything, use it to learn it ! Luigi’s Tips Send test messages to your spouse, boyfriend, girlfriend PLAN – you can create & save messages for upcoming events ahead of time. Let’s set up some Virtual Screen Share sessions with Luigi (individually or group)
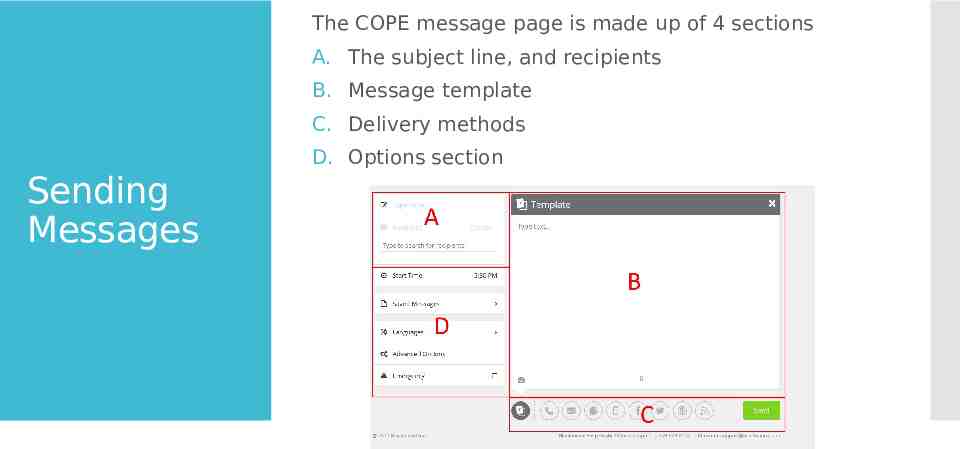
The COPE message page is made up of 4 sections A. The subject line, and recipients B. Message template C. Delivery methods D. Options section Sending Messages
To send a message, start in section A and enter your subject line of the message, then select the recipients NOTE: If you are sending messages to your Mobile Communications App you do not need to select recipients. Next in section B type your message and include any attachments or images associated with your message. Sending Messages Once your message is created in the template, go to section C and click on each delivery method you want to use. As you click on them they will go from greyed out to the associated color for that delivery method. Once a delivery method is enabled the message from the template is copied over automatically to that delivery method. You can then customize each method individually. When the message is complete, you can go to section D and select your delivery time, language, and advanced message options. When ready hit the send button