Side-Impact Crash Superheroes – Who Will Save the Day with a Better


18 Slides7.91 MB
Side-Impact Crash Superheroes - Who Will Save the Day with a Better Safety Feature?
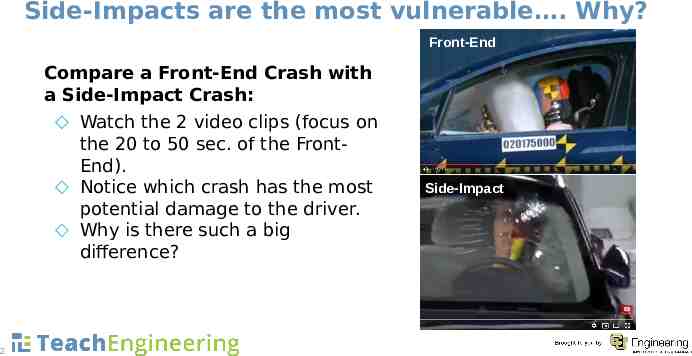
Side-Impacts are the most vulnerable . Why? Front-End Compare a Front-End Crash with a Side-Impact Crash: Watch the 2 video clips (focus on the 20 to 50 sec. of the FrontEnd). Notice which crash has the most potential damage to the driver. Why is there such a big difference? 2 Side-Impact
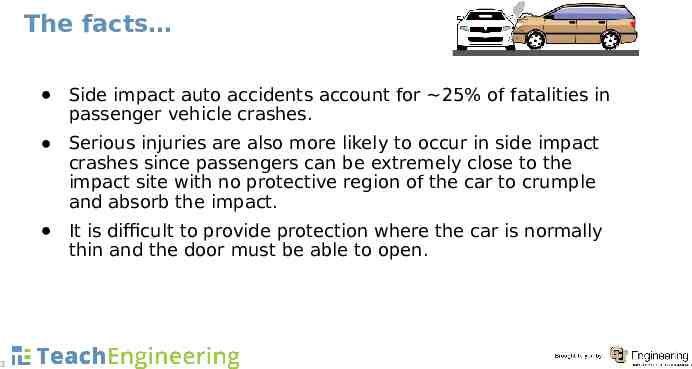
The facts Side impact auto accidents account for 25% of fatalities in passenger vehicle crashes. Serious injuries are also more likely to occur in side impact crashes since passengers can be extremely close to the impact site with no protective region of the car to crumple and absorb the impact. It is difficult to provide protection where the car is normally thin and the door must be able to open. 3
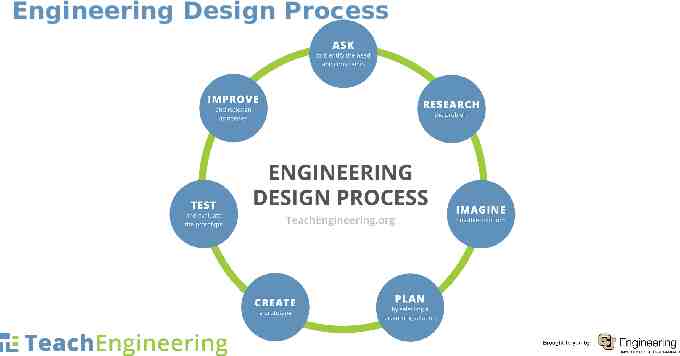
Engineering Design Process
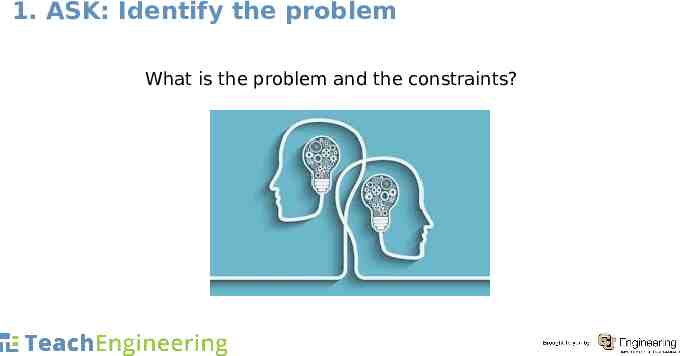
1. ASK: Identify the problem What is the problem and the constraints? 1
2. RESEARCH: Research the problem What information will help you find a solution? 1
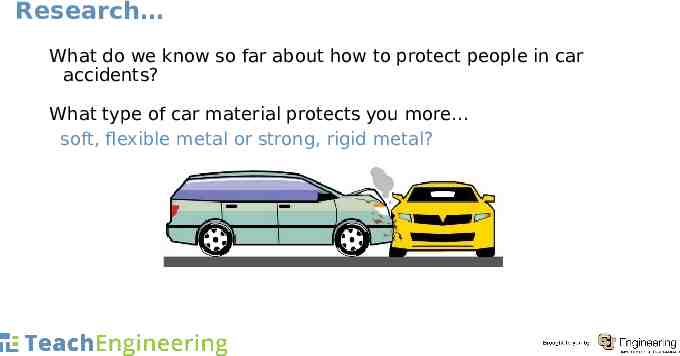
Research What do we know so far about how to protect people in car accidents? What type of car material protects you more soft, flexible metal or strong, rigid metal?
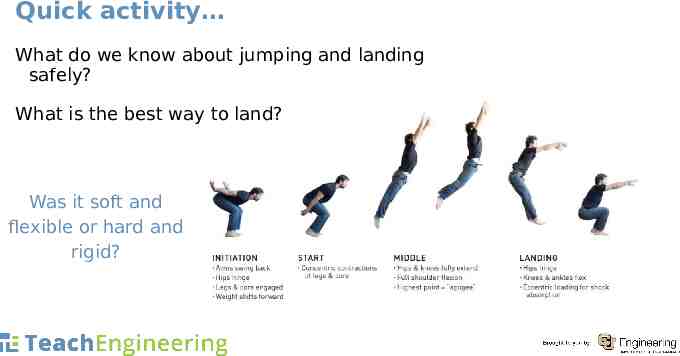
Quick activity What do we know about jumping and landing safely? What is the best way to land? 1 Was it soft and flexible or hard and rigid?
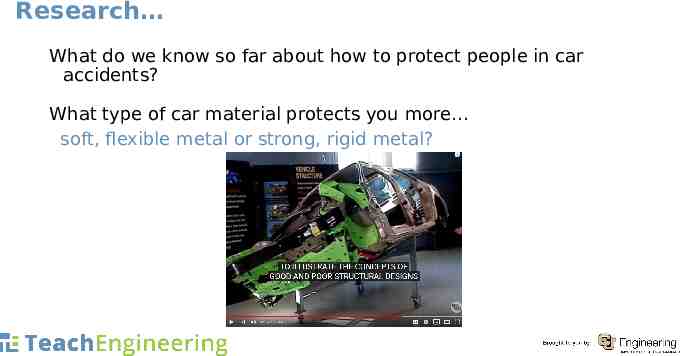
Research What do we know so far about how to protect people in car accidents? What type of car material protects you more soft, flexible metal or strong, rigid metal?
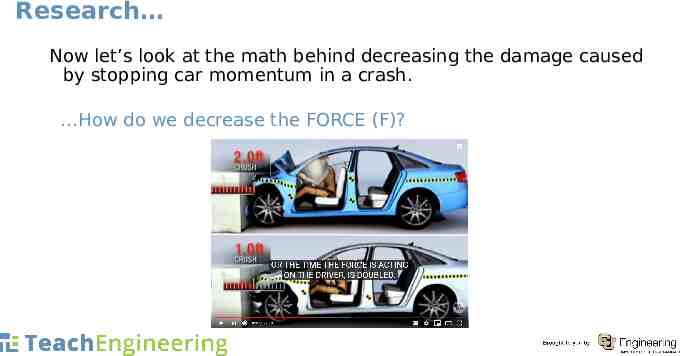
Research Now let’s look at the math behind decreasing the damage caused by stopping car momentum in a crash. How do we decrease the FORCE (F)?
Research The Ft is the impulse that stops the momentum (mv) before the car crash. How fast the car stops (time; t) is the all-important difference between regular stopping and the crash stopping force (F) that we feel. How do we decrease the Force (F)?
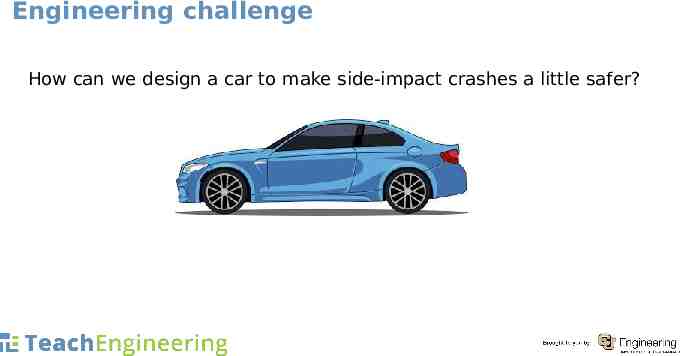
Engineering challenge How can we design a car to make side-impact crashes a little safer? 1
3. IMAGINE: Develop possible solutions Brainstorm as many design ideas as you can. 1
4. PLAN: Select the most promising solution Which is the best idea? 1
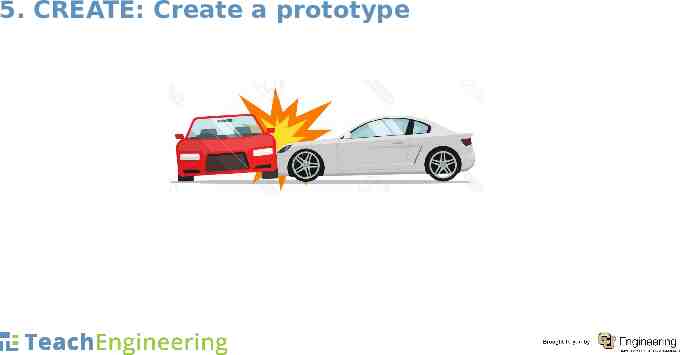
5. CREATE: Create a prototype 1
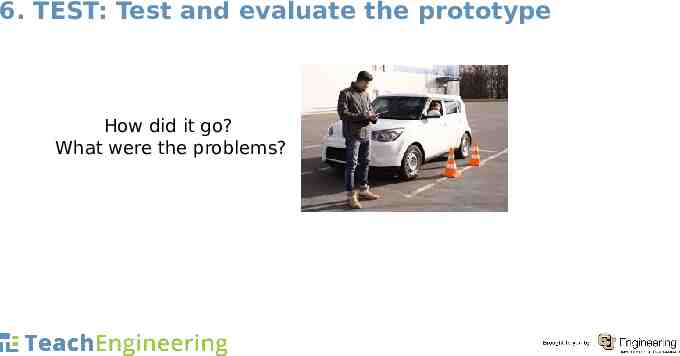
6. TEST: Test and evaluate the prototype How did it go? What were the problems?
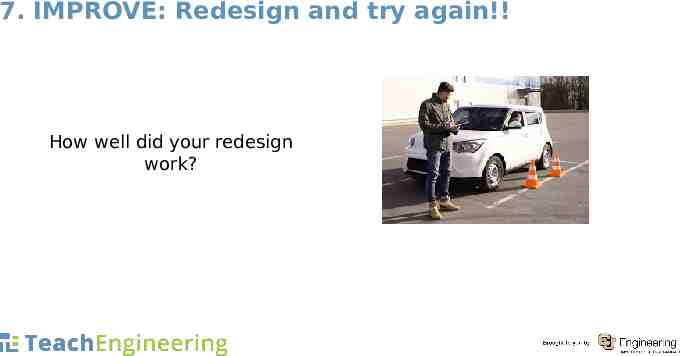
7. IMPROVE: Redesign and try again!! How well did your redesign work?
Communicate the Design Explain what you did so far, what happened, and what you would like to try next.