Integrated Pest Management (IPM) UHDS IPM Coordinator: Chris


36 Slides1.09 MB
Integrated Pest Management (IPM) UHDS IPM Coordinator: Chris Romeo (737-8648) 16 January 2006 1
Goals of Presentation To introduce MU personnel to integrated pest management principles Provide MU personnel with practical tools and resources to implement IPM in the work setting 2
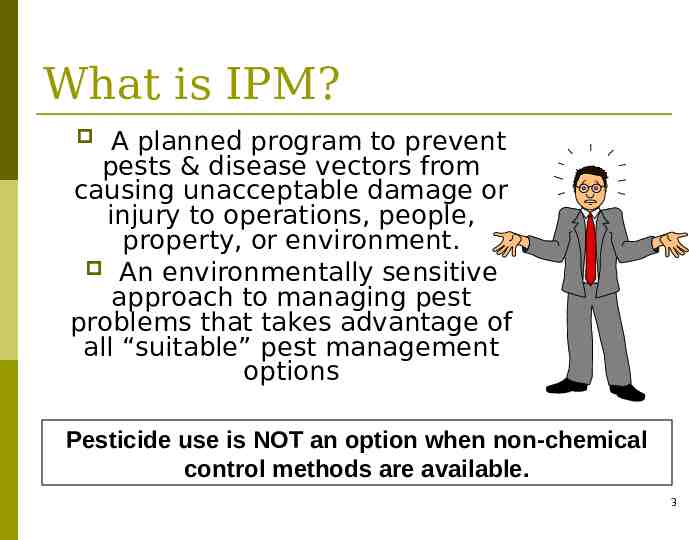
What is IPM? A planned program to prevent pests & disease vectors from causing unacceptable damage or injury to operations, people, property, or environment. An environmentally sensitive approach to managing pest problems that takes advantage of all “suitable” pest management options Pesticide use is NOT an option when non-chemical control methods are available. 3
What does IPM do? Prevents pest damage to MU facilities and property Prevents or minimizes environmental risks Minimizes pesticide use and avoids unnecessary pesticide exposure Minimizes health impact of pests 4
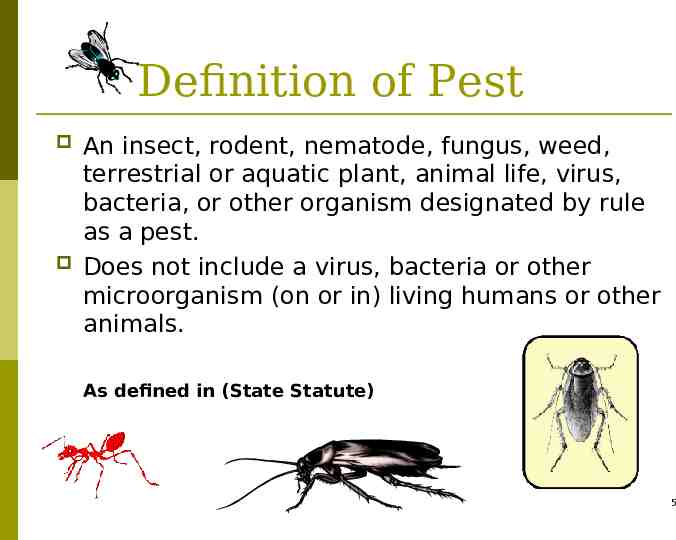
Definition of Pest An insect, rodent, nematode, fungus, weed, terrestrial or aquatic plant, animal life, virus, bacteria, or other organism designated by rule as a pest. Does not include a virus, bacteria or other microorganism (on or in) living humans or other animals. As defined in (State Statute) 5
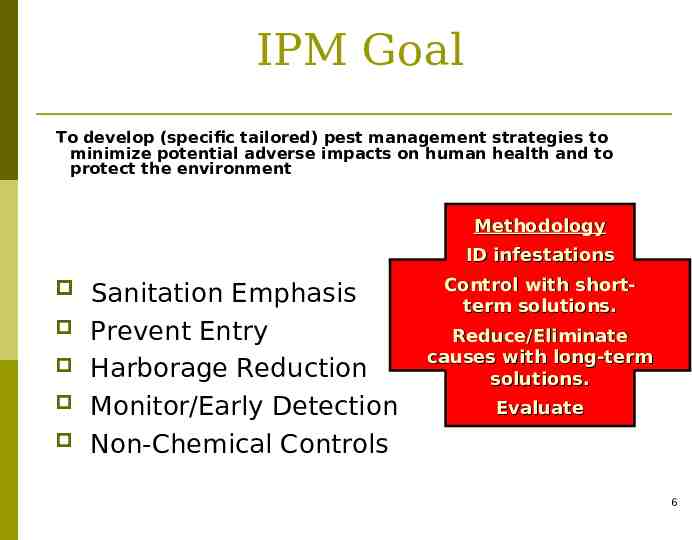
IPM Goal To develop (specific tailored) pest management strategies to minimize potential adverse impacts on human health and to protect the environment Methodology ID infestations Sanitation Emphasis Prevent Entry Harborage Reduction Monitor/Early Detection Non-Chemical Controls Control with shortterm solutions. Reduce/Eliminate causes with long-term solutions. Evaluate 6
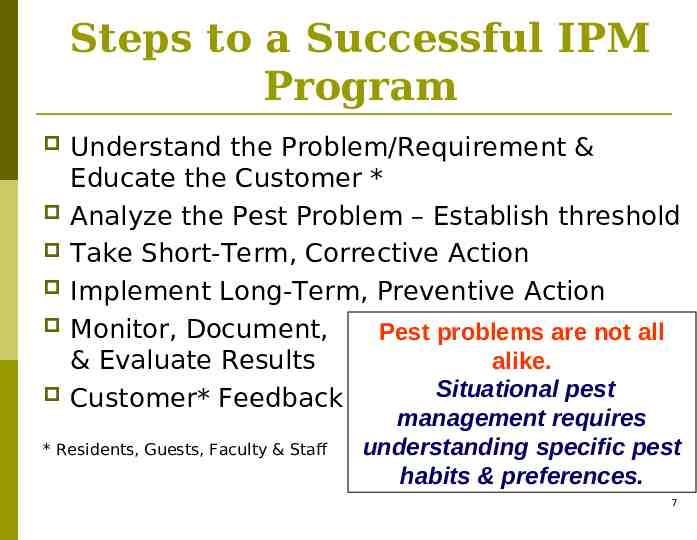
Steps to a Successful IPM Program Understand the Problem/Requirement & Educate the Customer * Analyze the Pest Problem – Establish threshold Take Short-Term, Corrective Action Implement Long-Term, Preventive Action Monitor, Document, Pest problems are not all alike. & Evaluate Results Situational pest Customer* Feedback * Residents, Guests, Faculty & Staff management requires understanding specific pest habits & preferences. 7
MU PLAN OF ATTACK Establish an IPM policy and implementation plan Develop initial staff IPM training Ensure daily, weekly, and monthly inspections are taking place 8
Staff Responsibilities/Support Maintain good sanitation & housekeeping standards to prevent pest access & harborage Leave pest control and pest management to trained professionals Do not use pesticides or call in pesticide applicators Do not move sticky traps or other pest monitoring products Do not prop open windows or screens Remove trash, especially food routinely Keep areas dry Clean up standing water or wet items Suggestions from Department of Agriculture 9
MU Managers Train MU Staff Appoint personnel to conduct inspections and maintain Pest Sighting Log Ensure Building Inspections are conducted per required schedule Maintain Pest Sighting Log; accessible to the MU Staff Follow-up on recommendations from IPM staff Post/Disseminate “Notice of Pesticide Application” Monitor problematic areas: Trash & Garbage Areas Dish Rooms Food Storage Areas Basements Loading Docks Under and behind appliances – move as needed to inspect 10
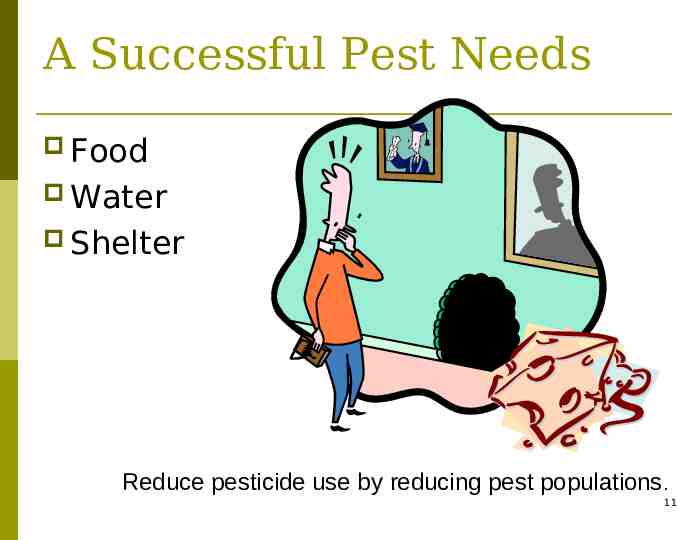
A Successful Pest Needs Food Water Shelter Reduce pesticide use by reducing pest populations. 11
Action Thresholds/Triggers Modify habitats—to make areas less hospitable, remove or reduce food and water and/or shelter Use non-chemical tactics when possible Structural (exclusion); Physical (sanitation) Mechanical (vacuum); Cultural (fertilizing)- weed species Identify specific acceptable levels of pest activity If pest population is too high or hazardous, chemical control may be needed Use least toxic product possible Follow label directions –IT IS THE LAW Keep records to track successes and problems 12
Premises Pest Exclusion -- Applying Pest Management - Eliminate Harborage Conditions: remove cardboard boxes & recyclable material Eliminate Structural Defects: caulk holes & cracks in walls and around door frames Repair/Replace Torn or Missing Window Screens: screens are 16-mesh per inch Keep storage areas, break rooms and loading docks clean Organize kitchens to maximize access and minimize harborage 13
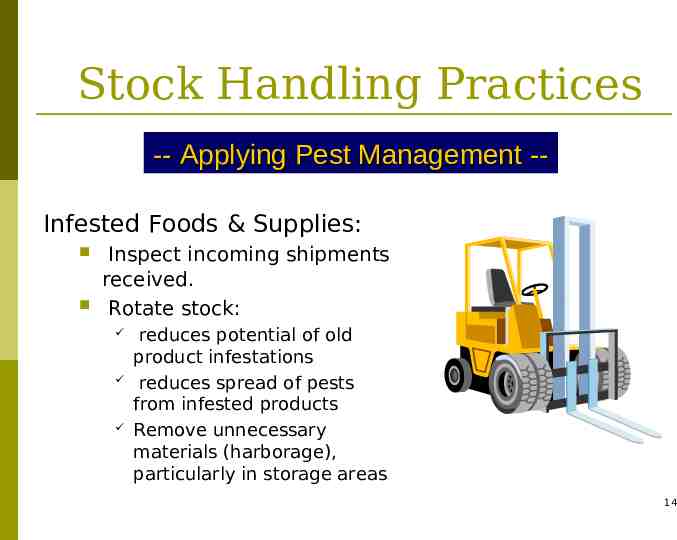
Stock Handling Practices -- Applying Pest Management -Infested Foods & Supplies: Inspect incoming shipments received. Rotate stock: reduces potential of old product infestations reduces spread of pests from infested products Remove unnecessary materials (harborage), particularly in storage areas 14
4 steps of IPM Inspect Identify Take action (action thresholds) Evaluate 15
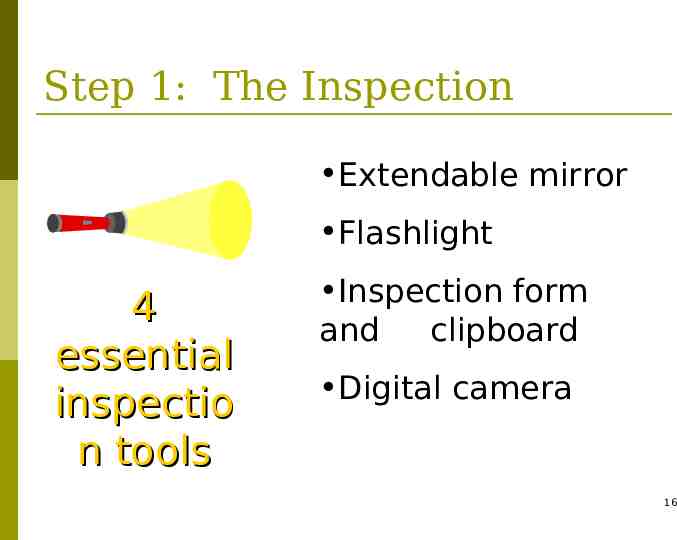
Step 1: The Inspection Extendable mirror Flashlight 4 essential inspectio n tools Inspection form and clipboard Digital camera 16
Routinely, look for Evidence of pests Unsanitary conditions Correctable Conditions Leaky pipes Unsealed cracks Spilled food Gaps under exterior doors Harborage (cardboard boxes) Others ? 17
Step 2: Identification Need to know the specific pest/problem in order to determine the appropriate control method(s). If you kill it, bag it for identification by trained personnel if you’re not sure what it is. 18
Step 3: Taking Action Wham! Wham! 19
IPM Management Methods Short versus long term results Must change habitat for long term solution Eliminate food, water and/or shelter Correct structural problems that permit pest entrance. Screens Caulking Utility penetrations Foundation cracks 20
Short Term Methods Light traps Sticky boards Vacuums Snap traps, etc Chemical pesticides baits liquid sprays powders 21
When pesticide treatments become necessary Evaluate products for effectiveness and toxicity use methods that minimize unnecessary pesticide exposures, where possible Provide notification or posting, as required by label or law Allow only properly trained individuals to apply the (appropriate) product. 22
Drawbacks of IPM More time and commitment Requires group effort Additional paperwork and communication Up-front costs to repair or improve facility Professional development and on-going training requirements for personnel 23
Benefits of IPM Detects, identifies and manages potential pest problems Promotes clean, well-maintained facilities and landscapes Minimizes health and environmental risks Provides long-term solutions 24
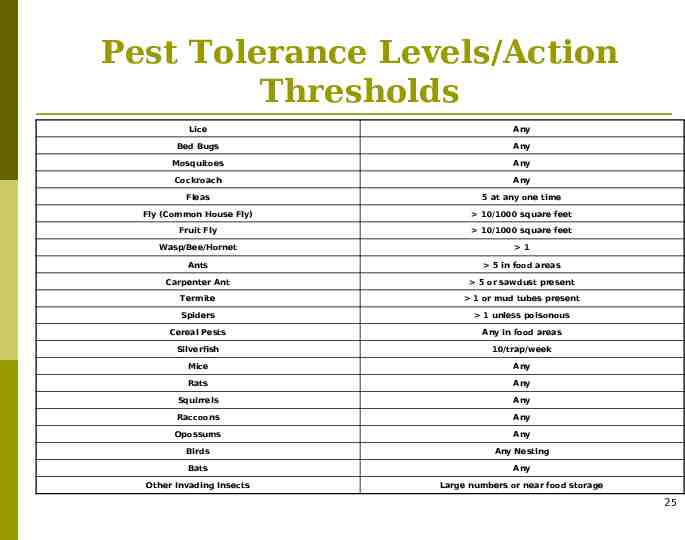
Pest Tolerance Levels/Action Thresholds Lice Any Bed Bugs Any Mosquitoes Any Cockroach Any Fleas 5 at any one time Fly (Common House Fly) 10/1000 square feet Fruit Fly 10/1000 square feet Wasp/Bee/Hornet 1 Ants 5 in food areas Carpenter Ant 5 or sawdust present Termite 1 or mud tubes present Spiders 1 unless poisonous Cereal Pests Any in food areas Silverfish 10/trap/week Mice Any Rats Any Squirrels Any Raccoons Any Opossums Any Birds Any Nesting Bats Any Other Invading Insects Large numbers or near food storage 25
Flies Cockroaches Moths Beetles Rodents 26
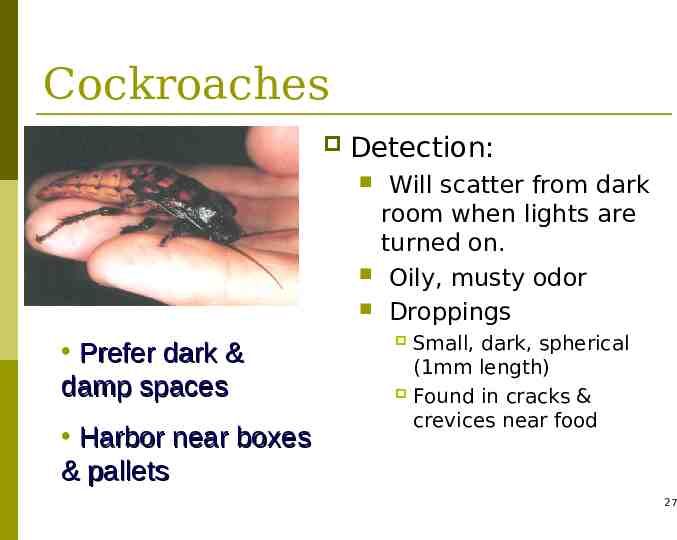
Cockroaches Detection: Prefer dark & damp spaces Harbor near boxes & pallets Will scatter from dark room when lights are turned on. Oily, musty odor Droppings Small, dark, spherical (1mm length) Found in cracks & crevices near food 27
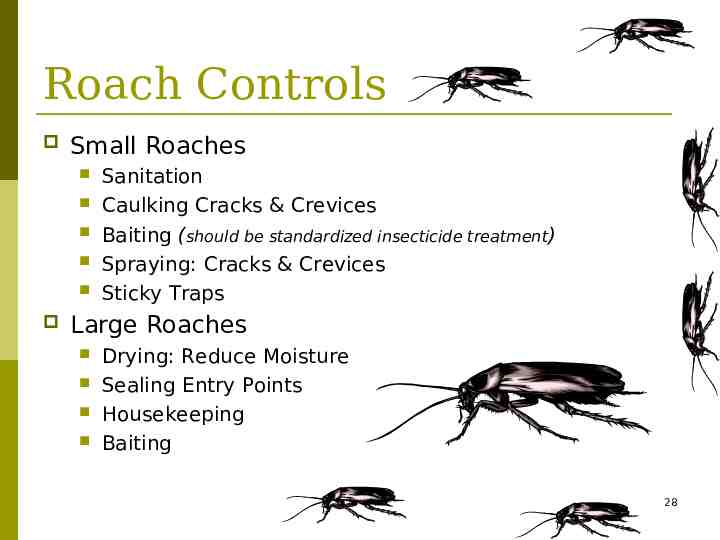
Roach Controls Small Roaches Sanitation Caulking Cracks & Crevices Baiting (should be standardized insecticide treatment) Spraying: Cracks & Crevices Sticky Traps Large Roaches Drying: Reduce Moisture Sealing Entry Points Housekeeping Baiting 28
Moths & Beetles Present as problems in dry-goods Storage Control cool, dry: 50% humidity, 50o F Reporting contaminate flour, oatmeal, rice, cereals, & grains contact trained personnel for pest ID Controls Stock rotation Ventilation 29
Flies Garbage & Refuse: Sticky Fly Paper: Containers covered when not in use Close dumpster doors Plastic liners in garbage cans Containers frequently cleaned & sanitized Trash bags tightly sealed before placement in dumpster Clean spilled trash or garbage around dumpster ASAP. authorized in Non-food areas prohibited in food prep, service, & dining areas Screens 1/16th mesh 30
Rodents Rats Dig burrows around foundation Attracted to debris & unsecured food (waste) Problems originate outside of building Mice Rats can squeeze through 1/2-inch gaps; Mice only need ¼ inch Can enter building from outside; problems originate indoors Nest w/in 15 feet of food source Spread through a structure along pipes, cables, & ducts Raised flooring & Lowered ceilings provide harborage 31
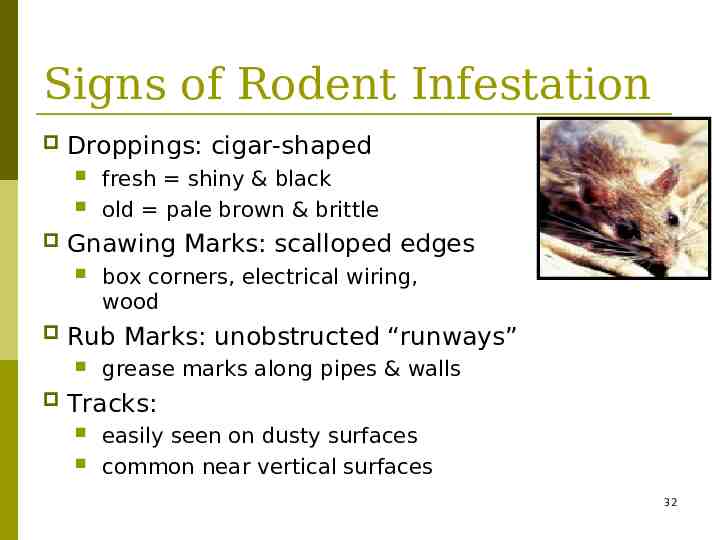
Signs of Rodent Infestation Droppings: cigar-shaped Gnawing Marks: scalloped edges box corners, electrical wiring, wood Rub Marks: unobstructed “runways” fresh shiny & black old pale brown & brittle grease marks along pipes & walls Tracks: easily seen on dusty surfaces common near vertical surfaces 32
Rodent Controls Rats Trash & Garbage recycle disposal Eliminate debris Eliminate building access Tracking powder Trapping Mice Seal entry points Cleaning & Housekeeping Trapping 33
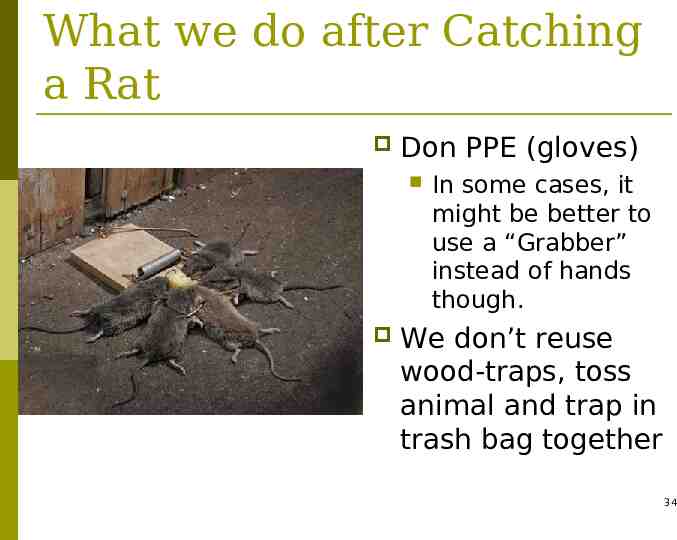
What we do after Catching a Rat Don PPE (gloves) In some cases, it might be better to use a “Grabber” instead of hands though. We don’t reuse wood-traps, toss animal and trap in trash bag together 34
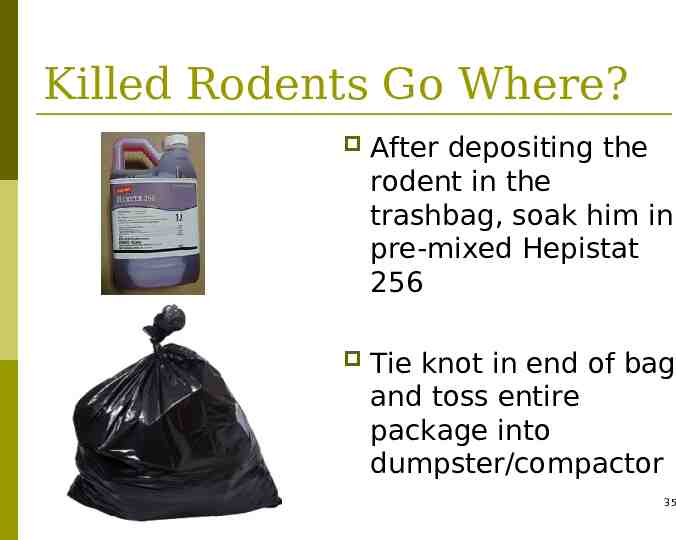
Killed Rodents Go Where? After depositing the rodent in the trashbag, soak him in pre-mixed Hepistat 256 Tie knot in end of bag and toss entire package into dumpster/compactor 35
Cleanup After the Kill Spray the spot the rodent was trapped with Hepistat 256 and wipe dry AFTER 10 minute dwell Spray all tools/implements. Clean and reload trap (if re-usable). Toss out gloves 36