Creating a Co-Branded Logo Lock-Up Co-Branded logos are a great way to
7 Slides2.53 MB

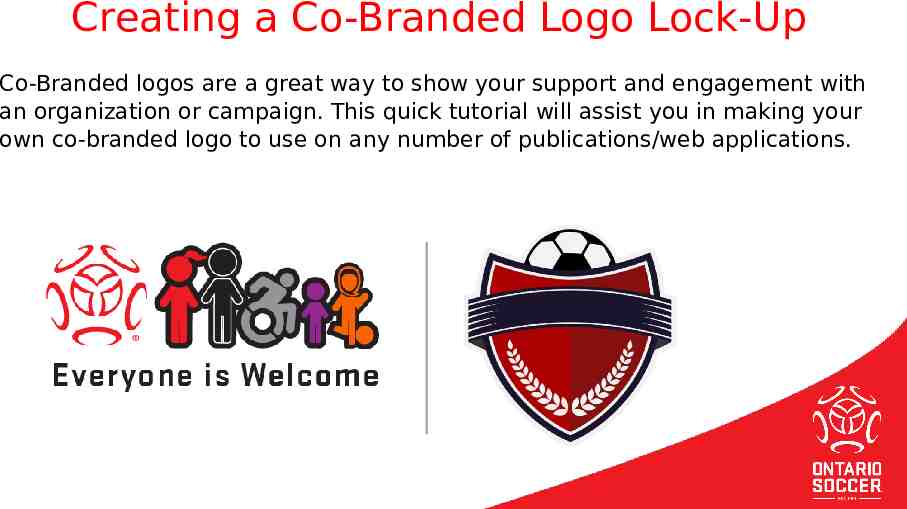
Creating a Co-Branded Logo Lock-Up Co-Branded logos are a great way to show your support and engagement with an organization or campaign. This quick tutorial will assist you in making your own co-branded logo to use on any number of publications/web applications.

Whether you have a ton of experience, or very little, these steps should be fairly easy to understand: 1. Delete the smile emoji. 2. Place your logo where the smile emoji used to be (.png file type is preferred because it maintains the transparent parts of the logo). Fiddle with the placement, make sure it all looks level and well spaced out. 3. When you are happy with the final layout, select all three graphic pieces while holding your shift key (two logos and a grey line). By holding shift, this allows you to select all three elements at the same time. 4. Right-click on your logo and choose “Save as Picture” from the drop-down menu. 5. Save the file in the location of your choice as a .png file type. 6. Use the newly minted co-branded logo for your various graphics and publications for the upcoming outdoor season! Creating a CoBranded Logo LockUp

Creating a Co-Branded Logo Lock-Up TIPS: The grey line is part of the lock-up, make sure you include it in your ‘Save As Picture’. Slightly more advanced: There is a function called ‘Align’ under Picture Tools/Format that is very helpful. Select both logos, and then select ‘middle’ from the Align menu – this will align them to make them level. We have also provided the logos in .png version for you to use in your various applications/graphics/publications. Email Robyn G. with questions, happy to help! [email protected]

Creating a Co-Branded Logo Lock-Up - WHITE VERSION 1. Delete the smile emoji. 2. Place your logo where the smile emoji used to be (.png file type is preferred because it maintains the transparent parts of the logo). Fiddle with the placement, make sure it all looks level and well spaced out. 3. When you are happy with the final layout, select all three graphic pieces while holding your shift key (two logos and a grey line). By holding shift, this allows you to select all three elements at the same time. 4. Right-click on your logo and choose “Save as Picture” from the drop-down menu. 5. Save the file in the location of your choice as a .png file type. 6. Use the newly minted co-branded logo for your various graphics and publications for the upcoming outdoor season!

USING THE GRAPHIC OVERLAY The next slide has an overlay over an Ontario Soccer generic photo (crowd). Delete the Ontario Soccer image, and add a photo from your collection. Move your new photo to the back (so it is behind the overlay). Resize the photo to fit the slide. Grab a png version of your logo, and lay it over the space that says ‘YOUR LOGO HERE’. Select all three items - the overlay, the photo, and your logo (by holding shift as you click). Right click and ‘Save as Picture’. Save it as a jpg. This image is ready for use on your various social and web channels!


